
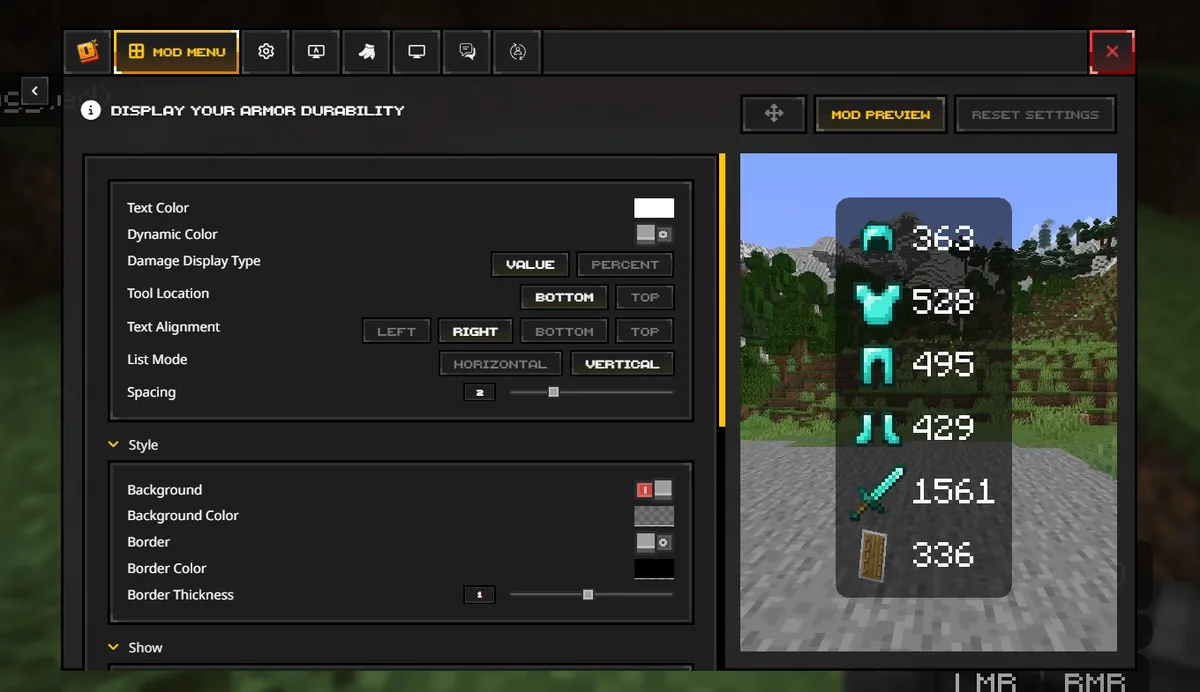
Use a Fabric profile, Iris, and a shaderpacks folder
To get shaders on Feather Client today, open the current Dawn client, select the Minecraft profile you will actually launch, and confirm that it uses Fabric. Add a compatible Iris shader loader and the dependency set named by that release; many Fabric setups pair Iris with Sodium. Then download a shader pack from its author or a trusted release page, keep the pack as a ZIP, copy it into that profile's shaderpacks folder, and select it from the shader menu.
Feather is still the search term many players use, but the first-party consumer route now points to Dawn. Minecraft, Fabric Loader, Iris, Sodium, and an individual shader pack each have separate compatibility rules. Match the exact Minecraft version before changing folders or downloading a new build.
Keep the shader stack in the right layer
A shader pack is not a mod JAR and Sodium is not the shader pack itself. Use this boundary check before copying files.
| Layer | What it does | Where to check | Common mistake |
|---|---|---|---|
| Dawn or Feather profile | Selects the Minecraft version, loader, and game directory | The profile you press Play on | Changing one profile and launching another |
| Fabric Loader | Provides the loader environment expected by Fabric builds | The selected profile's loader settings | Mixing Fabric instructions with Forge files |
| Iris | Adds the shader loading and selection path | Video Settings or the Iris shader menu | Installing a pack without a compatible shader loader |
| Sodium | Can improve rendering performance when the release supports it | The same profile's mod and dependency list | Assuming every Sodium build matches every Minecraft version |
| Shader pack | Changes lighting, shadows, water, and other visual effects | The profile's shaderpacks folder | Putting a ZIP in mods or extracting it incorrectly |
1. Check the active profile and renderer first
A shader pack belongs to the game directory used by the profile you launch. Start by writing down the exact Minecraft version, loader family, and profile name. A default .minecraft path may be wrong when Dawn uses a custom instance directory.
Launch the profile once without shaders or extra mods. If the clean profile works, you have a useful baseline for diagnosing Iris, Sodium, or shader-pack problems. Back up worlds and settings before replacing a working profile.
Select the profile you really launch
Use the Dawn or Feather profile that contains the target Minecraft version and loader. Do not copy files into a legacy instance and then test a different profile.
Confirm Fabric and the exact version
Check the complete version label, not only a broad value such as 1.21.x. Iris, Sodium, and the shader pack must all support the same game and loader combination.
Make a reversible baseline
Run the profile once with the default renderer, note your FPS and graphics settings, and keep a backup of worlds before adding files.
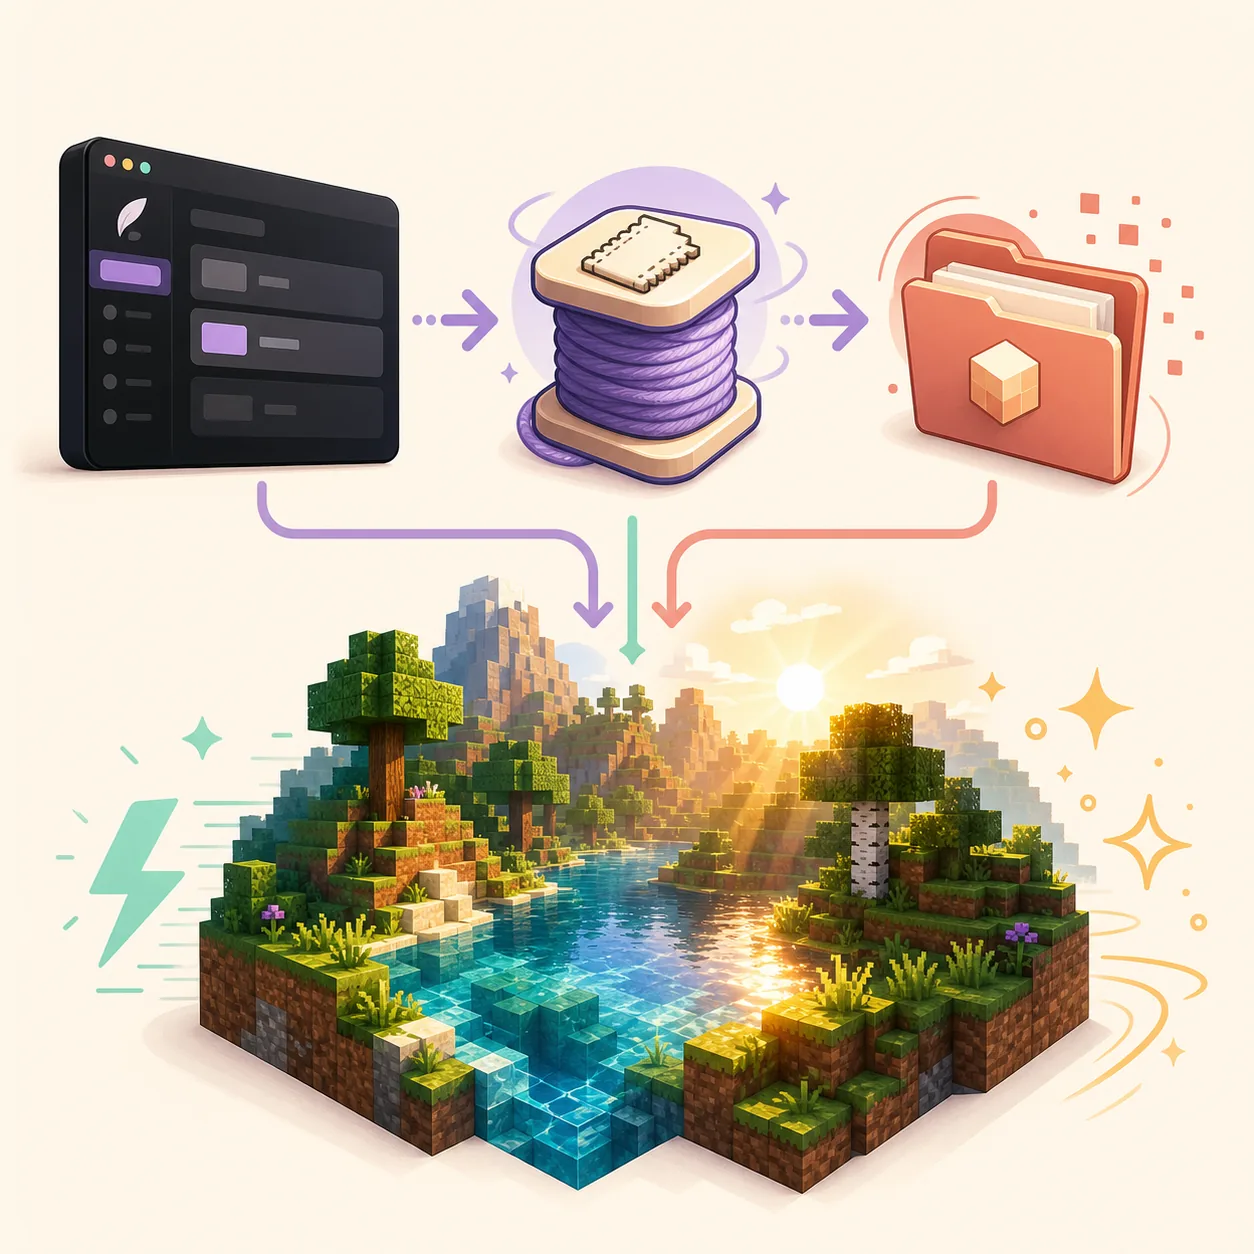
2. Install Iris and the compatible dependency set
Iris is the part of the Fabric setup that exposes a shader selection workflow. Many current Fabric configurations use Sodium alongside it for rendering performance, but the exact dependency list belongs to the Iris release and Minecraft version you selected. Read the release notes instead of copying a random JAR bundle.
If the pack or installer provides a supported profile, follow that profile's instructions. For a manual setup, place only compatible mod JARs in the active profile's mods folder. Keep the shader pack itself out of mods. The small Fabric logo below is contextual media, not a download or a version claim.
- Use Fabric instructions when the target profile is Fabric; do not mix Forge and Fabric builds.
- Match Iris and Sodium to the exact Minecraft version and loader shown by the release page.
- Add one change at a time so a crash can be attributed to the loader, dependency, or pack.
- If a current Iris package already bundles or installs a dependency, follow its documented flow rather than adding a duplicate JAR.
3. Put BSL or another shader pack in shaderpacks
Download BSL, Complementary, or another pack from the author's official page or a trusted release listing. Keep the downloaded pack as a .zip unless its documentation explicitly says otherwise. Do not run an installer, rename a random archive, or use a pack that asks for account credentials.
Open the active profile's game directory and create shaderpacks if the compatible renderer has not created it. The usual Java locations are %APPDATA%\.minecraft\shaderpacks on Windows, ~/Library/Application Support/minecraft/shaderpacks on macOS, and ~/.minecraft/shaderpacks on Linux, but a custom Dawn profile path takes priority.
Start that same profile, open Video Settings, choose the Iris shader menu, and select the pack. If it appears in the list, the folder is being read. Apply it only after the clean renderer has launched successfully.
Keep the pack archive intact
Place the downloaded shader pack ZIP directly in
shaderpacks. Do not put it inmods,resourcepacks, or the launcher installation directory.Open the shader menu
Launch the target profile, open Video Settings, and use the shader selection screen provided by the compatible Iris setup.
Apply and test in a small scene
Choose BSL or Complementary, load a safe test world, and compare FPS, visual artifacts, and memory use before adding another pack.
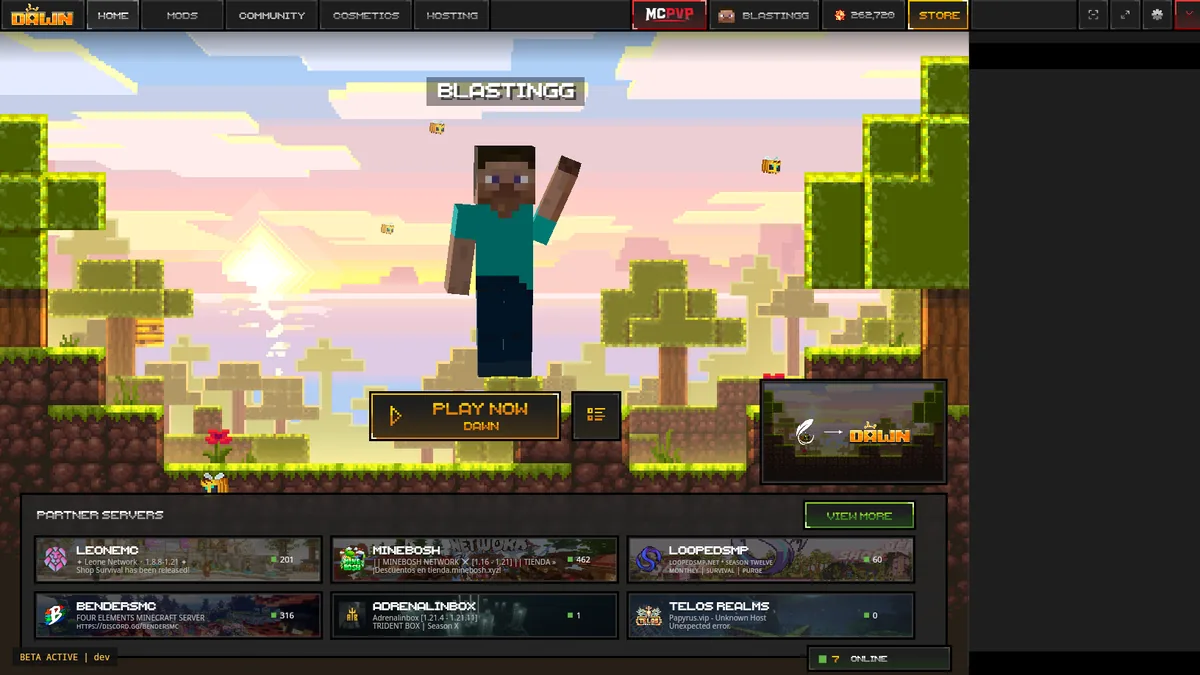
4. Tune BSL or Complementary without losing stability
A first shader test should be conservative. Start with the pack's default or low preset, keep the render distance reasonable, and change one expensive effect at a time. Shadows, volumetric lighting, reflections, ambient occlusion, screen-space effects, and high-resolution shadow maps can reduce FPS quickly.
If you are comparing BSL and Complementary, compare them on the same world, render distance, resolution, and weather. A pack that looks smoother on one scene may be heavier in another. Save a known-good preset before experimenting so you can return to it.
- Lower shader quality or shadow resolution before changing every Minecraft graphics option.
- Reduce render distance and simulation distance if the GPU and CPU are both under pressure.
- Disable volumetric clouds, reflections, or cinematic effects when you need a quick FPS gain.
- Keep Sodium and other optimization mods only when their versions are supported by the same profile.
- Use a fixed test area and the same resource pack when comparing two shader presets.
5. Fix a missing shader menu, black screen, or crash
When the shader menu is missing, first confirm that you launched the profile containing Iris. When the pack is missing from the list, confirm the active game directory and the exact shaderpacks spelling. When the game crashes or shows a black screen, remove the shader pack, launch the clean profile, and re-add the stack one change at a time.
Do not delete worlds or repeatedly reinstall the launcher before checking the profile path and log. A wrong instance, duplicate JAR, unsupported Minecraft version, or conflicting renderer is usually more informative than a generic reinstall.
- No shader option: verify Iris or the supported shader loader is in the profile you actually launched.
- Pack not listed: check that the pack is a ZIP in the active profile's
shaderpacksfolder. - Crash on launch: remove the newest renderer or dependency, then test the clean profile and read the log.
- Black or broken visuals: disable the pack, lower effects, and test a version that matches the exact game build.
- Low FPS: reset to the default pack preset and lower shadows, volumetrics, and render distance before changing folders.
Feather Client shader FAQ
These answers separate the current Dawn route from the Minecraft profile and shader files you manage inside it.
Can Feather Client run shaders?
Yes, when the selected Minecraft profile supports a compatible shader workflow such as Fabric with Iris and its documented dependencies. Feather is still the common search name, while the current first-party consumer route points to Dawn.
Where is the Feather Client shaderpacks folder?
Open the game directory for the profile you actually launch, then use its shaderpacks folder. The default Java paths can help, but a custom Dawn instance directory takes priority over .minecraft.
How do I install BSL shaders on Feather Client?
Use a BSL release that supports the exact Minecraft and renderer stack, keep the download as a ZIP, copy it into the active profile's shaderpacks folder, then select it from the Iris shader menu.
Why is the shader option missing?
The usual causes are launching the wrong profile, using a loader without a compatible shader menu, or placing Iris in another instance's mods folder. Confirm the profile, version, loader, and active directory before reinstalling anything.
Why do shaders make Feather Client lag or show a black screen?
Shader effects can be expensive and a renderer or pack can be incompatible with the exact game version. Remove the pack, test a clean profile, then use a low preset and reduce shadows, volumetrics, reflections, and render distance one setting at a time.